Why You Should Try the Oil Cleansing Method

Using oil to cleanse oil? This may sound counter-intuitive. How can we remove excess oil from our skin by adding more oil to it?
Oil and water don't mix, that's why we use soap to help break down oils into water-soluble particles. However, using soap strips oils from your face and raises your skin's pH, breaking down your skin's natural lipid barrier and removing beneficial bacteria from the skin's surface - bacteria that help your skin fight acne and protect you from other infections.
When you strip the oils from your skin, not only are you drying it out but you're causing it to overproduce oil to compensate for the dryness and to help re-balance the skin's pH.
Additionally, disrupting your skin's lipid barrier can lead to all kinds of problems - including cracks, dryness and worsening of conditions such as eczema. Avoiding soap can help restore your skin's lipid barrier, allowing your skin to heal and develop a healthy microbiome.

So, what are the benefits of oil cleansing?
- Lifts out excess sebum from your skin
- Gently unclogs pores
- Removes makeup, dead skin cells and environmental pollutants
- Improves skin barrier function
Ready to give it a try?
Here are the basic steps for the oil cleansing method:
- Add a dime-size amount of noncomedogenic oil (one that won't clog pores, such as jojoba) to the palms of your hands.
- Starting with a dry face, rub the oil over your entire face (and neck if desired), massaging your skin with your fingertips in a circular motion to help lift out the impurities. Add more oil if needed.
- Let the oil sit for 5 minutes.
- Soak a wash cloth in warm, steamy water. Hold the cloth up to different areas of your face for 30 seconds each, rinsing with more warm water when needed. The steam will help open your pores to release additional impurities. Make sure to include your forehead, nose, left and right cheek/jawline and chin. An alternative is to do a herbal steam using a basin full of hot water.
- Once you've steamed all the parts of your face, you can begin wiping off the oil. Rinse the rag as needed to keep oil from accumulating. As you're wiping, gently exfoliate any areas of your skin that may have built-up dirt, such as around your nose and chin. If you have sensitive or acne-prone skin, you can avoid the exfoliation to avoid irritating your skin.
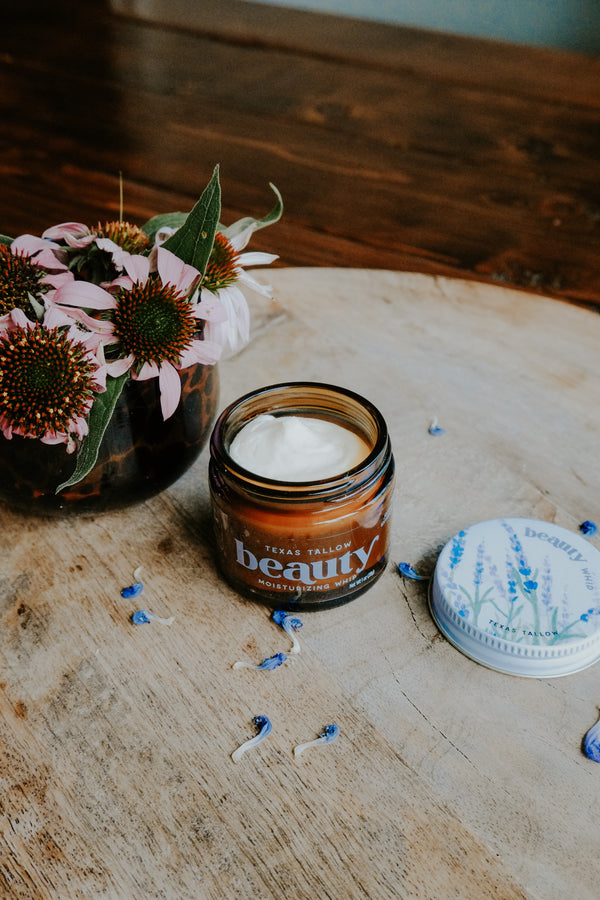
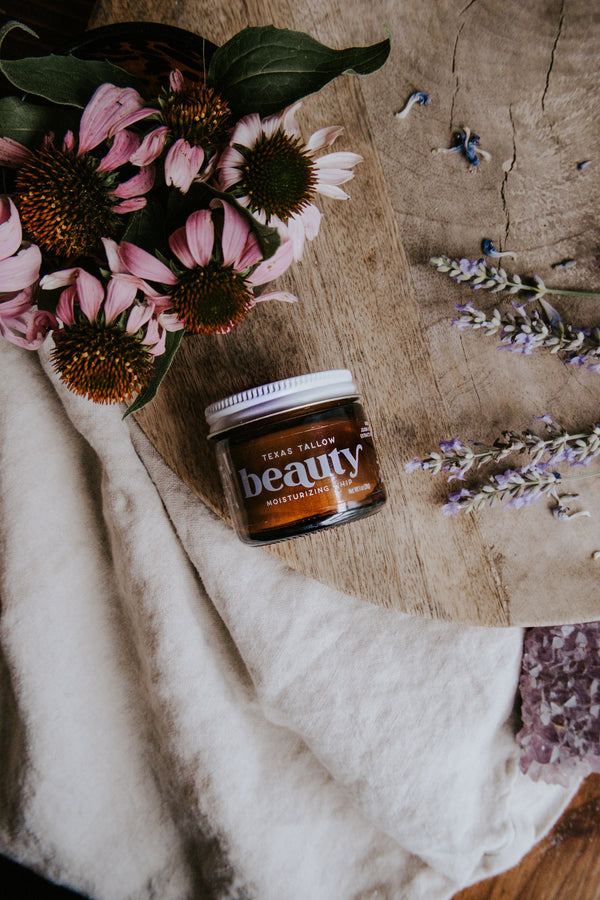
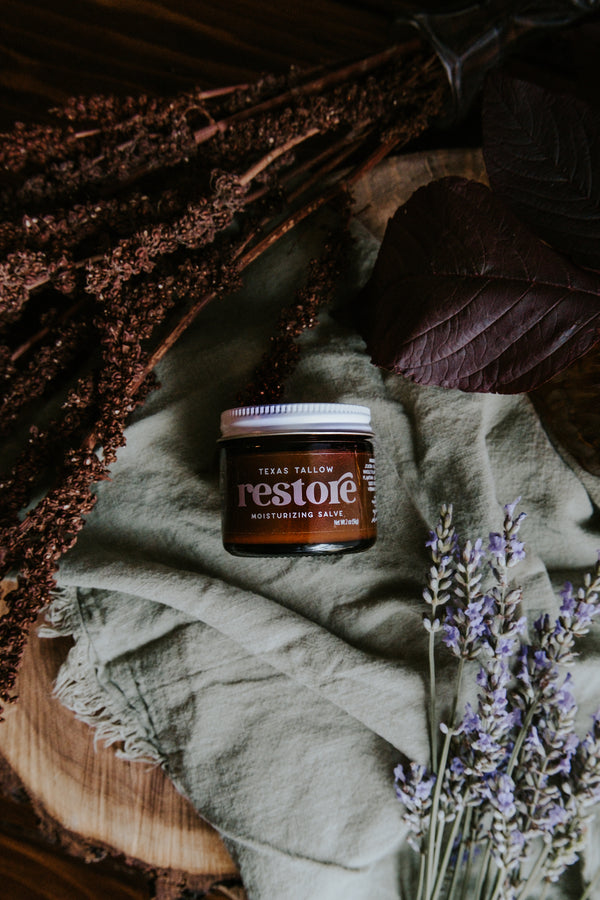
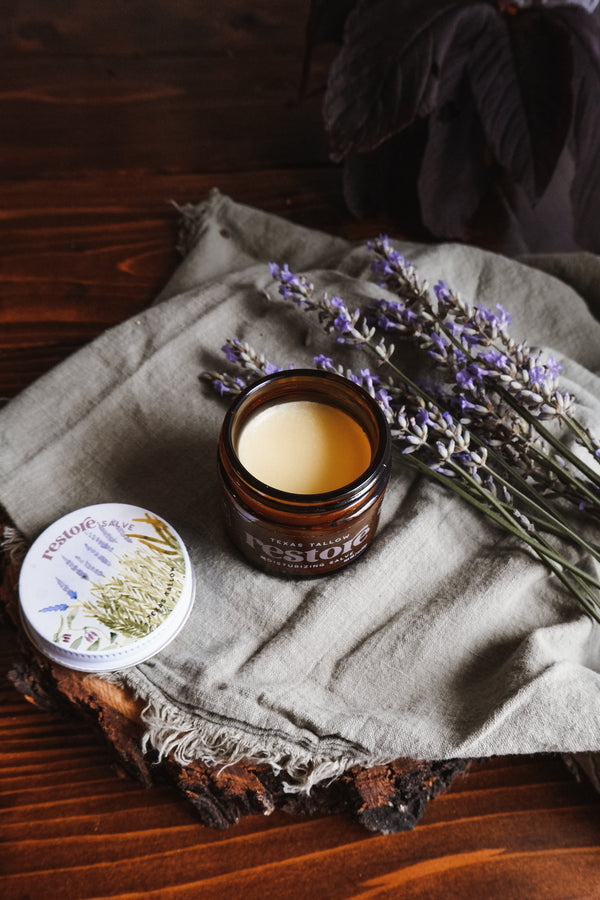
- After you've removed the oil, you can follow up with a spritz of toner, such as a herbal hydrosol, and then apply a dab of tallow moisturizer. The toner will help your tallow spread more evenly and absorb more quickly.
You should only do an oil cleanse at most once a day, preferably at night. You'll find you probably don't need to wash your face in the mornings. A splash of water or spritz of toner will probably be enough. If your skin is still feeling dry you could apply a small amount of tallow in the mornings as well.
Allow a week or two for your skin to adjust to oil cleansing. If you're still experiencing breakouts after a couple weeks you may need to cleanse your face afterwards with a gentle soap or try another alternative.
What are some other options for getting your skin clean without soap? You can try dry brushing (for your full body), exfoliating or even just using plain water. If you do stick with soap, small-batch natural soaps are a great alternative to harsher commercial soaps, since they have higher-quality ingredients instead of harsh chemicals.
Have you tried oil cleansing? Leave your experience in the comments below!
Shop our line of oil cleansers here.